Pancakes have got to be one of the best foodie creations of all time. Whether you love yours sweet, savoury, fluffy, thin, small, big, rolled, folded, topped with bacon or smothered in syrup – I truly believe that there is a pancake for everyone! For those of us who avoid dairy & gluten, it would be easy to give up hope of ever having delicious treats like pancakes and crepes again because of the milk/flour content of standard recipes. But with a few simple substitutions there is no reason at all to miss out on the all the pancakey-goodness! And in my opinion, these recipes are in no way inferior to the old-fashioned pancake and are a great way to get more creative in the kitchen!
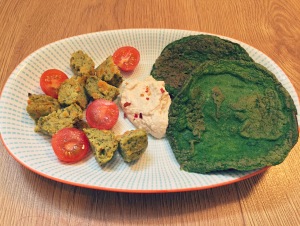
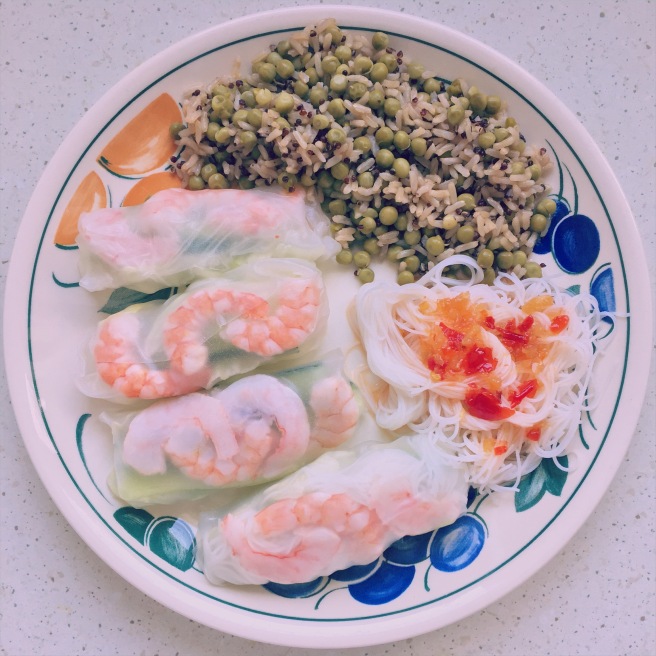
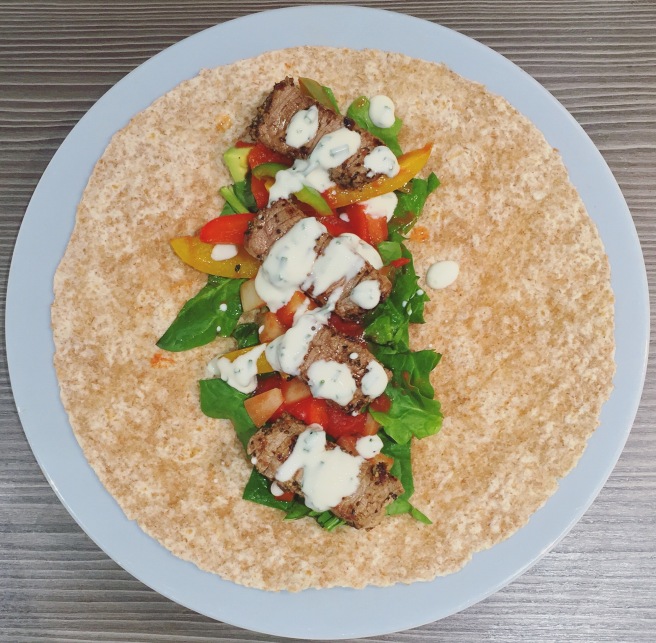
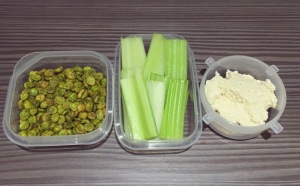
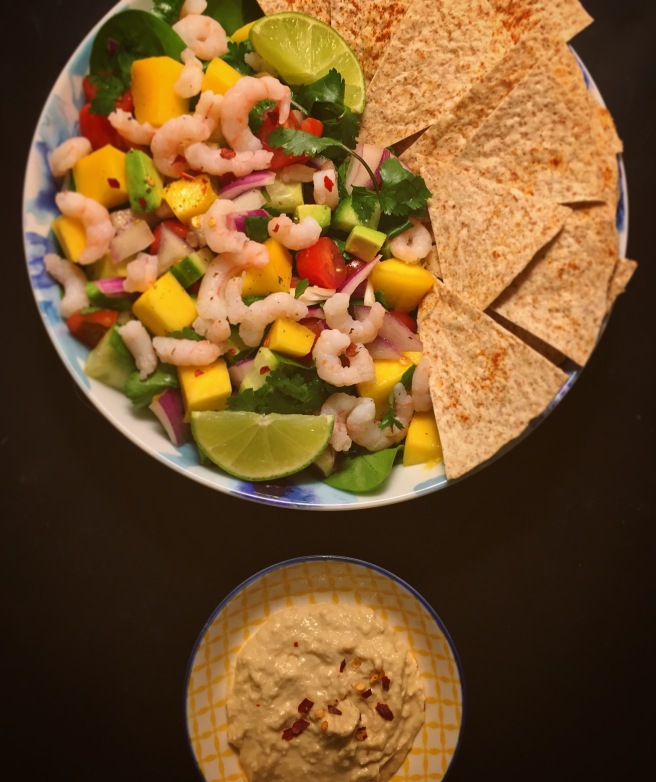
So pancake day is finally here, and this weekend I wanted to experiment with some different styles of DF&GF pancakes. The results of my little kitchen venture have inspired me to never again restrict pancakes to one day of the year! It’s super quick and easy to go online and find a million different, more tummy-friendly, recipes – but sometimes you just have to get a bit creative. This brings me to my first trial, the rather odd looking but delicious savoury one of the bunch, my super-green spinach & coriander pancakes with hummus. These pack in so much nutrition and are wonderfully simple, a really fun way to have a greener lunchtime. I enjoyed mine as 2 smaller, thicker pancakes with hummus, cherry tomatoes and falafel – but you could also spread the mix further in the pan to create a more crepe-like pancake and roll it up with some more gorgeous grilled veggies.
Super-green spinach & coriander ‘pancakes’: (makes 2 small or one large)
- 1 big handful of fresh, washed spinach
- 1 handful of fresh coriander leaves
- 1 tbsp lemon juice
- 1 large egg
- salt & pepper
- hummus (optional- to serve)
- dried chili flakes (optional)
- 1 tsp coconut oil (for the pan)
Simply add all of the above, except hummus, to a blender and blend on full speed for around 30 seconds until the consistency is smooth and all of the leaves are blended. The egg will make it a bit frothy so let the mix stand for a bit to get rid of some of the bubbles! In a frying pan, melt the coconut (or other oil of choice) on a medium heat. Pour in that glorious green mix and spread around the pan, let it cook for a minute or two on one side and use a spatula to lift the edges and check if the underside is done. If you’re brave enough to flip – now is your time! Cook the other side for another minute or two, depending on the size of your pancake. Repeat with the rest of the mix if you are making 2 smaller ones. Serve with hummus, chili flakes, fresh lemon, minty tzatziki dip, refreshing avo-salsa, veggies, meat or anything else you fancy!
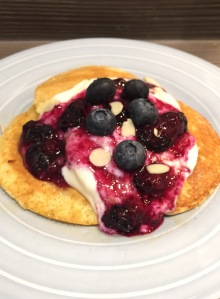
Next up are the sweetest, fluffiest and yummiest little pancakes on the menu! Almond flour is a high protein, low sugar, gluten-free flour alternative that promotes healthy fats and lots of vitamin E, as well as a nice dose of magnesium. But just as importantly, it tastes delicious in pancakes and gives that fluffy, american-style texture, perfect with berries and yogurt or bananas and honey etc…
Fluffy almond flour pancakes: (Makes 2 servings, 3 pancakes per serving)
- 2 large eggs
- 1 tbsp maple syrup
- 2 tbsp coconut oil, melted (plus extra for pan)
- 1/4 cup almond milk (or other milk of choice)
- 1 cup almond flour
- 1/4 tsp baking powder (optional – extra fluffiness!)
- pinch of salt
- toppings of choice (e.g. berries, yogurt, honey/agave, nuts, coconut, fresh fruit, cinnamon, chocolate, nut butter etc…)
Add to a mixing bowl the flour, milk, eggs, syrup, oil and salt – whisk carefully until all of the dry and wet ingredients are well combined. The consistency should be pourable but not runny! In a pan melt enough coconut oil (around 1 tsp) to coat the bottom, and keep on a low-medium heat. These pancakes cook much more successfully on a low heat for longer – so add some batter to the pan and cook the pancakes for around 4 minutes on each side, carefully lifting the edges to check the undersides. Once they are fluffy and golden, serve with the toppings of your choice – I had mine with some heated up blueberries, coconut soy yogurt, flaked almonds and a drizzle of agave nectar – delicious. You can store these pancakes in an airtight container in the fridge for the next day, and simply pop them in the toaster to enjoy them warm again!
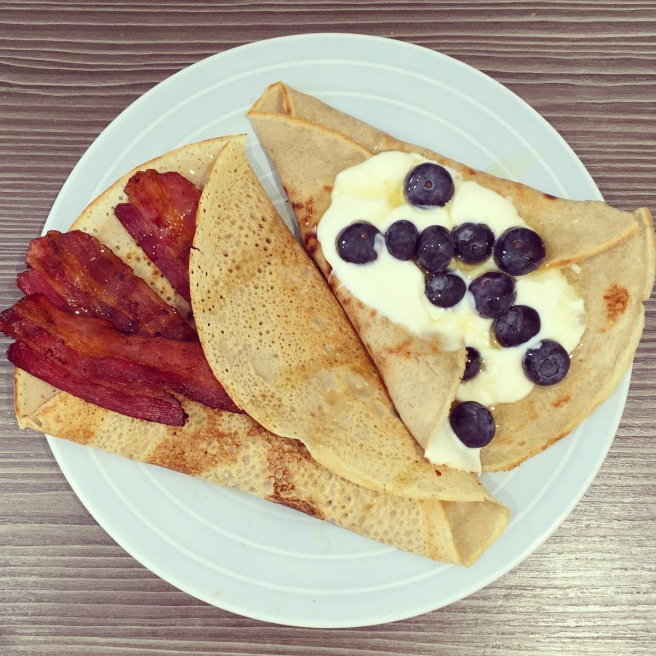
Now onto my personal favourite – the buckwheat variety! I love how these crepes are so flavour-versatile and go perfectly with both sweet and savoury toppings! As a weekend morning breakfast treat, we tried out both crispy bacon & maple syrup and sweet berries and yogurt versions. A pancake themed main and desert all before 11am, the perfect Sunday! I used Livia’s Kitchen buckwheat crepe’s as the basis for the recipe, but with a few modifications, so i’ll post mine below but here is the link to the original. Livia is an amazing food-blogger and her instagram has me drooling most days. These gorgeous, wheat free crepes are really easy and the pancakes can be stored in the fridge for the next day too, although you may need to hide them from hungry housemates!
Perfect morning buckwheat crepes – 2 ways! (Serves 2, 3 crepes per serving)
- 3/4 cup buckwheat flour (around 100g)
- 1 large egg, whisked
- 1/2 tsp vanilla
- 3 tbsp maple syrup
- 1 cup almond milk (or other milk of choice)
- 1/2 tsp cinnamon (optional)
- pinch of salt
- coconut oil for pan (or other oil of choice)
- To serve: 6 rashers (3 per serving) of streaky bacon + 2 tbsp maple syrup, or 1/2 cup blueberries + 1/2 cup yogurt of choice, or any others of your fave toppings!
Add buckwheat flour to a big mixing bowl and combine with milk, the whisked egg, vanilla, maple syrup and salt (and cinnamon if you choose to add this delish flavour into the mix! Works best with the sweet topping version). Give it all a good mix until smooth. Heat a little coconut oil in a medium/large pan so that it evenly coats the bottom and put on a medium heat. Add some of your batter to the pan and spread with the back of your spoon so that it thinly covers the entire base – we want lovely thin crepes!) If you are having bacon with yours – now would be the time to start grilling/frying! Cook each side for around 2 minutes, checking the undersides and flipping when you think there is enough colour, ideally a golden brown. To keep the crepes warm you could place a heat-proof dish in the oven on a low heat and keep adding fresh crepes to it whilst the next one cooks. Now you can serve, in any style you want! Feel free to explore with folding, rolling, slicing the crepes to suit your toppings! I folded mine with some extra crispy bacon and maple syrup, absolutely dreamy.
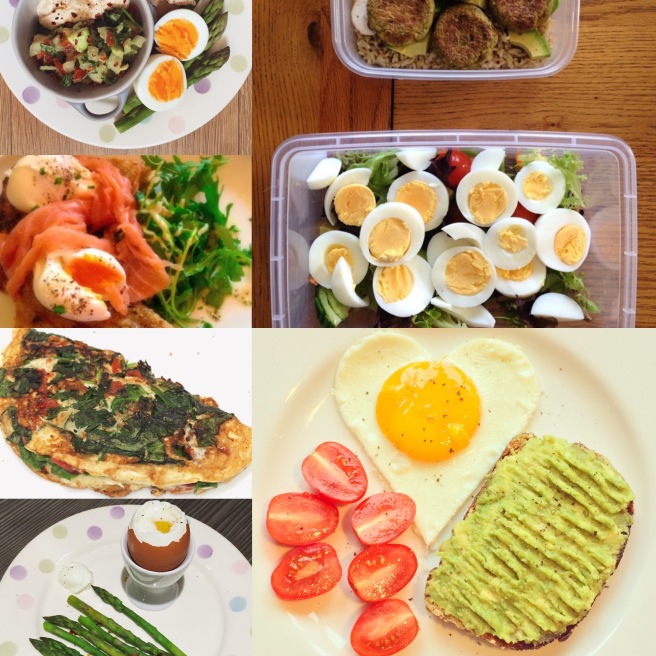
Get creative with your toppings this pancake day, whether it’s fresh fruit or scrambled eggs affair, make it fun and make it your own! And if you dare to flip, don’t beat yourself up over a few ceiling-stickers! Another method I would love to try again is the ever so simple ‘1 banana & 2 eggs’ variety, but I must confess that I gave these a go and the outcome was a rather sad looking, burnt excuse for a pancake – so let me know if you have tried and succeeded at this, I would love to know your secret! Meanwhile, I think in my house pancake day is going to become a weekly event with these 4 fun ways to enjoy them. Happy flipping!
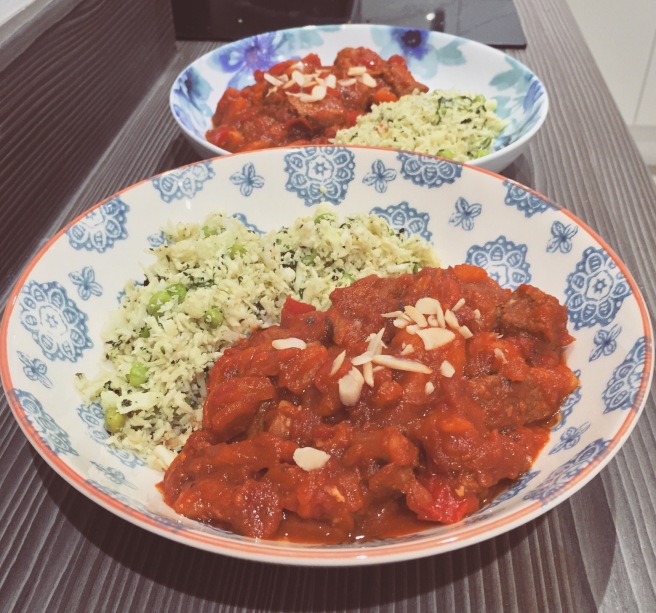
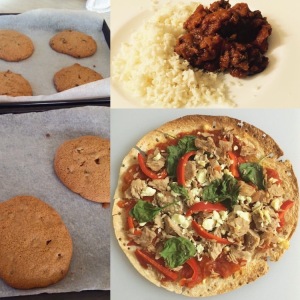
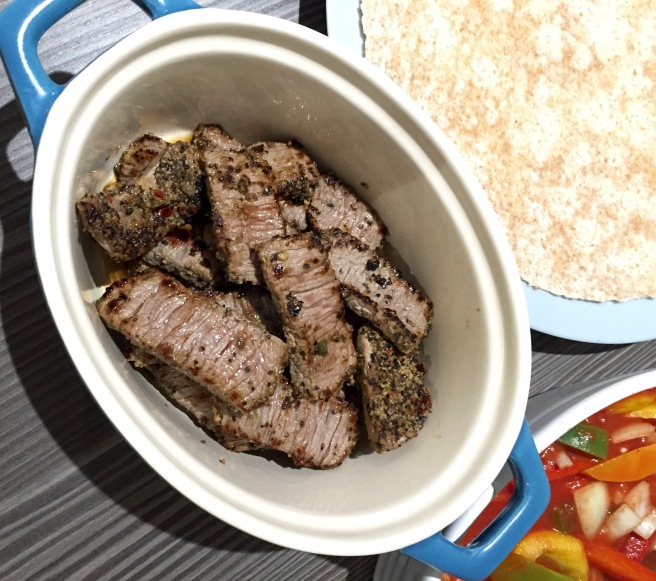
P.s – check out some of the gorgeous food pics I was sent this weekend – recreations of my fakeaway tortilla pizza, sweet lamb stew and gooey choc chip cookie recipes, all looking delicious. Find all of these recipes on here, and for more foodie inspiration be sure to stop by my instagram, have a lovely week!


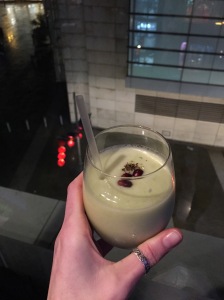
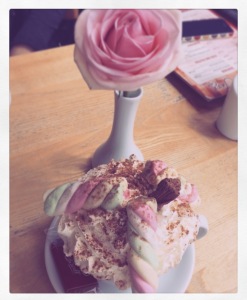 So what better way to kick off the celebrations than with an afternoon tea by the sea. There are two places in Bournemouth that I’m particularly fond of when it comes to cake by the ocean. First up, the Cumberland Hotel (below left) – sat on a hill at the edge of the world where you can see the sea for miles, whilst you’re sipping on tea and catching up with the girls. And secondly, but not second best – the newest member of the club – the Hampton by Hilton (below right). Here’s one to take the parents! And although the views don’t beat my fave spot in the clouds at Manchester’s Hilton Cloud 23, it’s a perfect place to order your signature cocktail, or feast on a stack of perfectly miniature cakes for lunch!
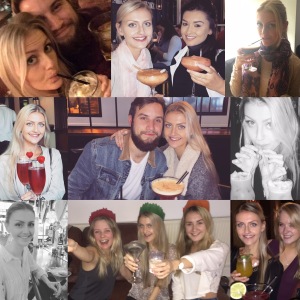
 Now before I get totally side-tracked babbling on about cake and coffee’s, don’t let me forget another classic coastal treat – the BBQ! Some of my favourite memories from this year are the times with my best friends, laughing about the weird and wonderful things we’ve experienced in our first year of being twenty-something, whilst our (still raw in the middle) chicken skewers and chipolatas burn on one side over the cheap disposable grill we bought on a whim! But sometimes we really do get it right and if I say so myself, we’re not bad at rustling up a delish, although rather make-shift, gourmet BBQ.
")
")
")
")


")

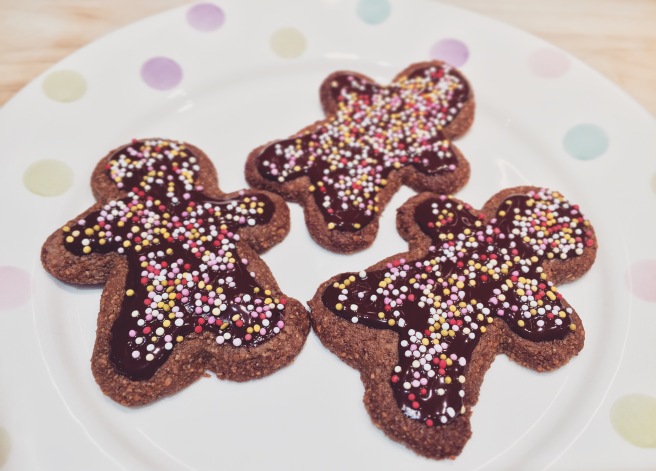
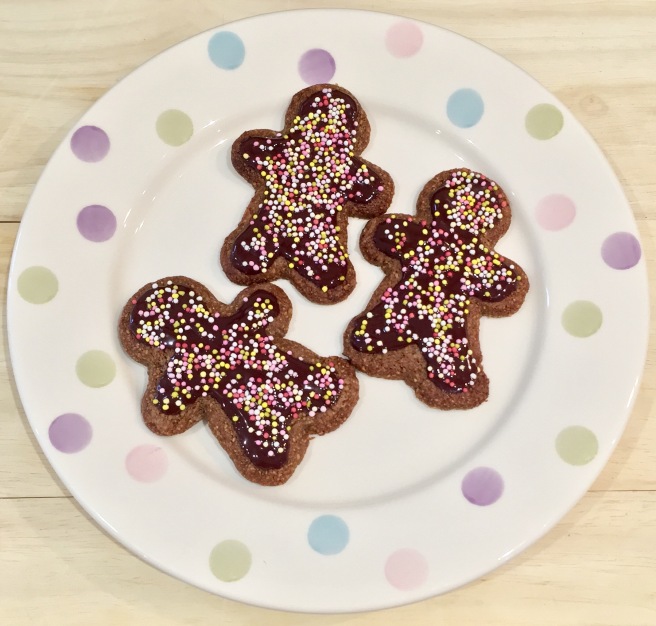


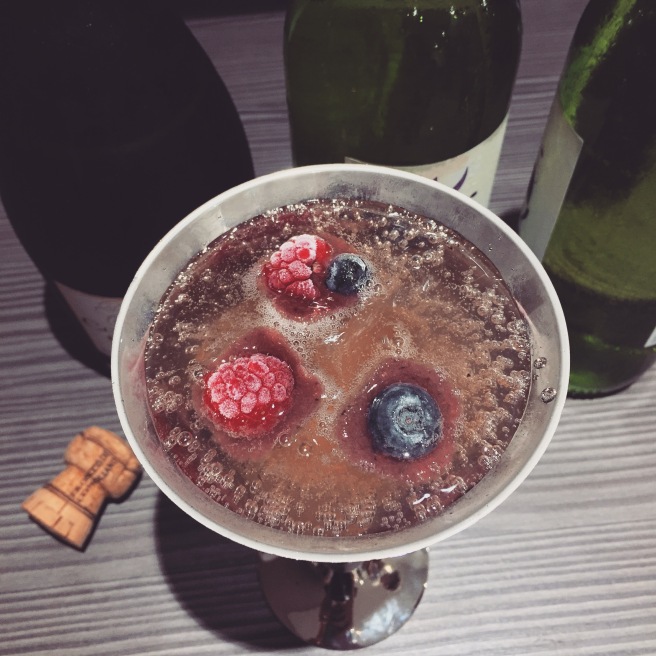


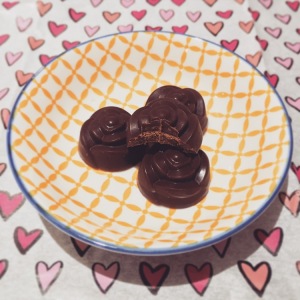
 Now you can’t expect me to be spreading all of this love and not mention the V word – Valentines. Whether your’re into it all or not, it’s the perfect excuse to do something nice for someone that you care about! If you’re like me and insist on the ‘no buying Valentine’s day presents’ rule, there’s nothing stopping you from getting creative instead and making something for your fave person/people, and isn’t this weekend just the best excuse to eat more chocolate?